CRM
Dashboard-Calls: This
section of the Dashboard lets you create and manage client calls. From
the Dashboard, click Calls on
the dark blue toolbar.

This brings up a full display of all the calls (for
an individual salesperson or all salespeople). They sort so
the most current calls are at the top.
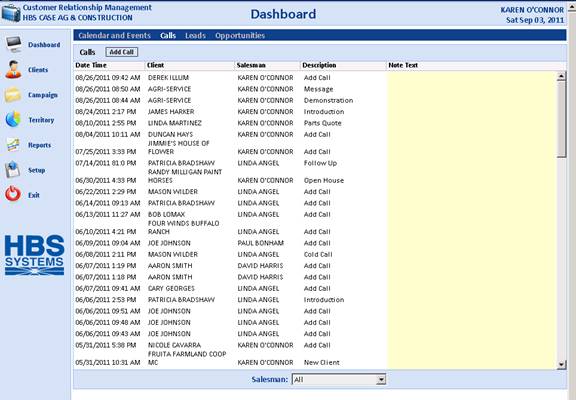
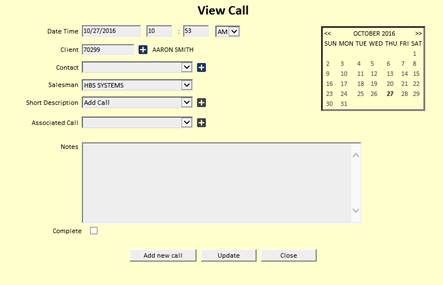
You can review call information by clicking on it.
Add a Call: To
add a new call, click the Add
Call button.

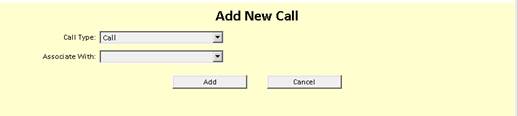
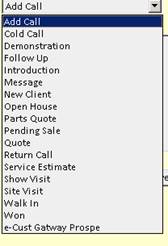
Call
Type: Choose
from one of the following types:
Associate
with: Choose
from either:
Press the “Add” button
to continue to the Call Details.
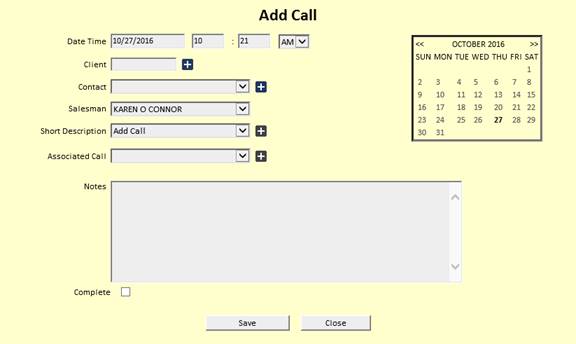
Date
and Time: The
date and time will pre-fill with today's date and the current time. You
can change it as needed.
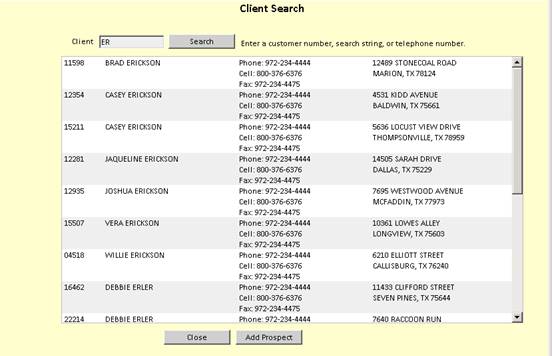
Client:
Type
in the A/R customer number, or look up the customer by typing in a few
letters of their last name or business name.
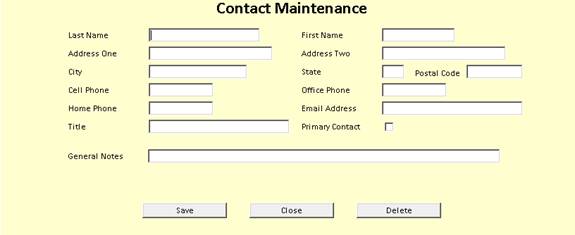
Contact:
Choose a contact name
from the drop-down menu. If you want to add a new contact:
Salesman:
The
Salesman field will default to your login. Sales managers may
choose individual Salesman IDs.
Short
Description: Choose an option
from the drop-down menu.
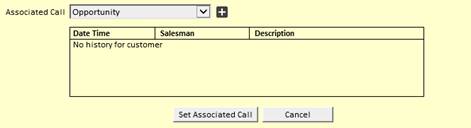
Associated
Call: Use
this option to connect the call to a previous one.
Choose
from either:
Lead
Opportunity
Select
the call you want to associate with (if available).
Click
Set Associated Call.
Description:
Fill
in more details of the call as needed.
Complete: Check this box to switch
the call status from Active to Closed.
Press “Save” to record the call information.
Add from the Client screen:
You
may also add calls from the Client screen.
Choose
a client.
Click
Add Call in
the lower portion of the screen.
